Expert Floor Drain Installation for Better Water Flow
Multiple images showcase various installation sites, highlighting the versatility of floor drains in different environments.
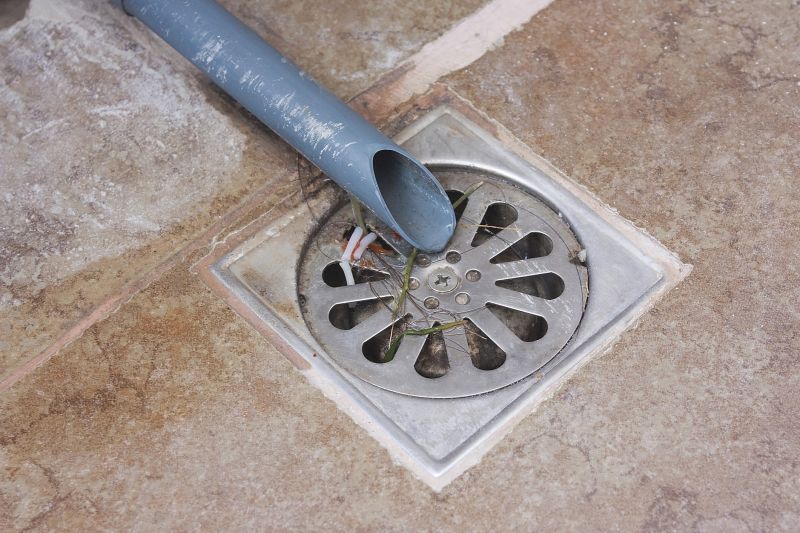
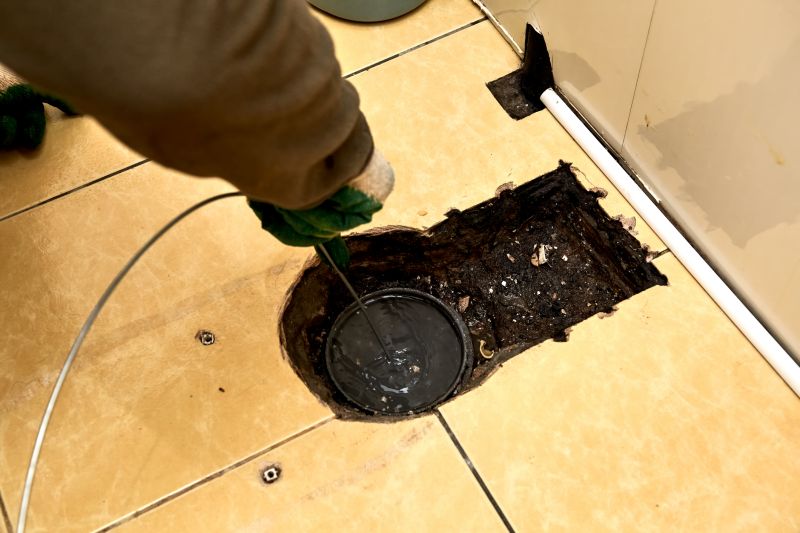
Visuals of technicians working on floor drain setups emphasize the precision and expertise involved in the process.
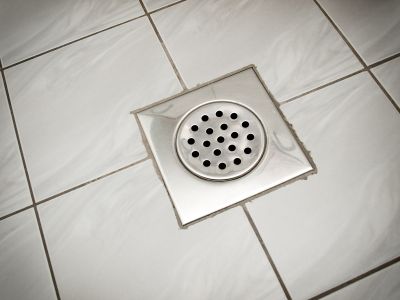
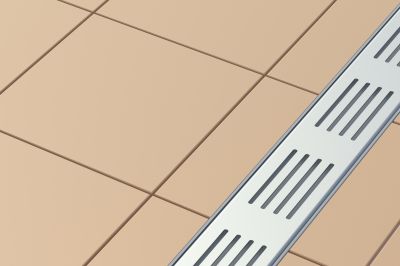
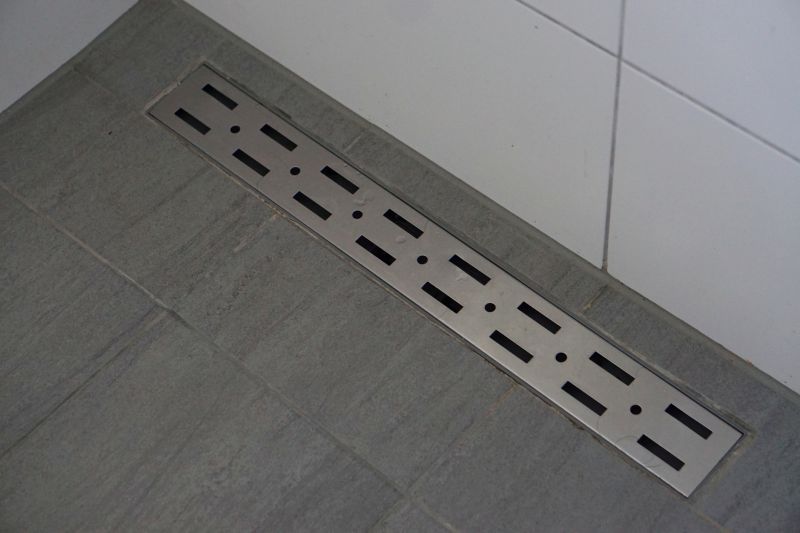
Images of finished installations demonstrate the seamless integration of floor drains into various flooring types.
Installing floor drains is a critical component in managing excess water and preventing flooding in residential, commercial, and industrial spaces. Properly installed floor drains enhance safety by reducing slip hazards and protect property by directing water away from vulnerable areas. Statistics indicate that professional installation can significantly reduce the likelihood of drainage failures, with a failure rate of less than 2% compared to DIY approaches. The process involves careful planning, precise cutting, and secure fitting to ensure optimal performance and longevity.
The installation process typically takes between 4 to 8 hours for a professional, depending on the complexity and size of the project. It begins with site assessment and measurement, followed by excavation or surface preparation, then fitting the drain components, and finally sealing and testing the system for proper flow. Hiring a professional ensures adherence to building codes, proper slope and positioning, and reduces the risk of leaks or blockages. Skilled installers also select the appropriate materials for durability and compatibility with existing flooring and drainage systems.
Various types include trench drains, point drains, and linear drains, each suited for specific applications and environments.
Common materials include stainless steel, PVC, and cast iron, selected based on durability, corrosion resistance, and compatibility.
Proper maintenance involves regular cleaning, inspection for blockages, and ensuring seals are intact to maintain optimal function.
Showcases a seamless, professional finish integrated into a commercial kitchen floor.
Depicts the testing phase where water is directed into the drain to verify proper function and drainage speed.
| Aspect | Details |
|---|---|
| Average Installation Time | 4 to 8 hours for professional installation |
| Common Materials | Stainless steel, PVC, cast iron |
| Installation Cost | Varies based on project size and complexity |
| Maintenance Frequency | Regular inspections every 6-12 months |
| Failure Rate | Less than 2% when installed by professionals |
| Suitable Environments | Commercial kitchens, garages, basements, industrial facilities |
| Design Considerations | Proper slope, placement, and sealing are essential |
| Tools Required | Cutting tools, sealants, level, measuring tape |
Professional installation of floor drains is essential for ensuring long-lasting, effective drainage systems. Properly installed drains help prevent water accumulation, reduce structural damage, and maintain a safe environment. For those interested in upgrading or installing new drainage solutions, contacting a qualified installer can provide peace of mind and optimal results.